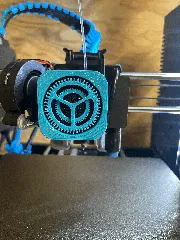
Replacement dragging sprocket for DeWalt DW50 Planer-Thicknesser
Description
PDF---
Import from Thingiverse / Reupload
This was my very first design some years ago and what started my 3d-printing journey. We don't have this planer anymore but this model may still be of use to someone. I also added my original Fusion360 file in case anyone wants/needs to modify it.
---
This is a replacement sprocket for our old but trustworthy planer-thicknesser. The old plastic sprockets that drive the infeed rollers were significantly worn out and after one broke and I couldn't find any replacements I decided to model my own.
This was my first design, so if you're a pro don't hesitate to leave constructive criticism, I'm still learning. ;)
It has held up reasonably so far as long as you're careful not to overload the machine printed sprocket by letting the planer remove too much material at once.
Also, since this is a rather old machine, I scanned the instruction manual that came with it and uploaded it here as well. Some replacement parts are still available and the manual provides a nice list and exploded view.
Print Settings
Printer:
Dobot MOOZ
Rafts:
No
Supports:
No
Resolution:
0.2
Infill:
100
Notes:
I usually print these with 100% infill at around 50 mm/s.
PLA works fine, but you have to be super careful not to plane too much material. I currently have one printed in ABS which seems to be slightly more "forgiving". Haven't tested PETG yet.
Also, you may want to scale it up 1-2%, depending on your printing tolerances and filament shrinkage in order to not fit not too tight and break the part while installing it.
Post-Printing
I designed the part after the original, which had an M6 grub screw on one side. I added a second hole to even out the pressure on the printed part, but found that it isn't strictly necessary to even add a grub screw as long as it fits snugly on the shaft.
Otherwise drill the hole out to the correct size (for M6 usually a 5mm hole) and tap it.
Category: Parts
Tags
Model origin
The author marked this model as their own original creation. Imported from Thingiverse.

